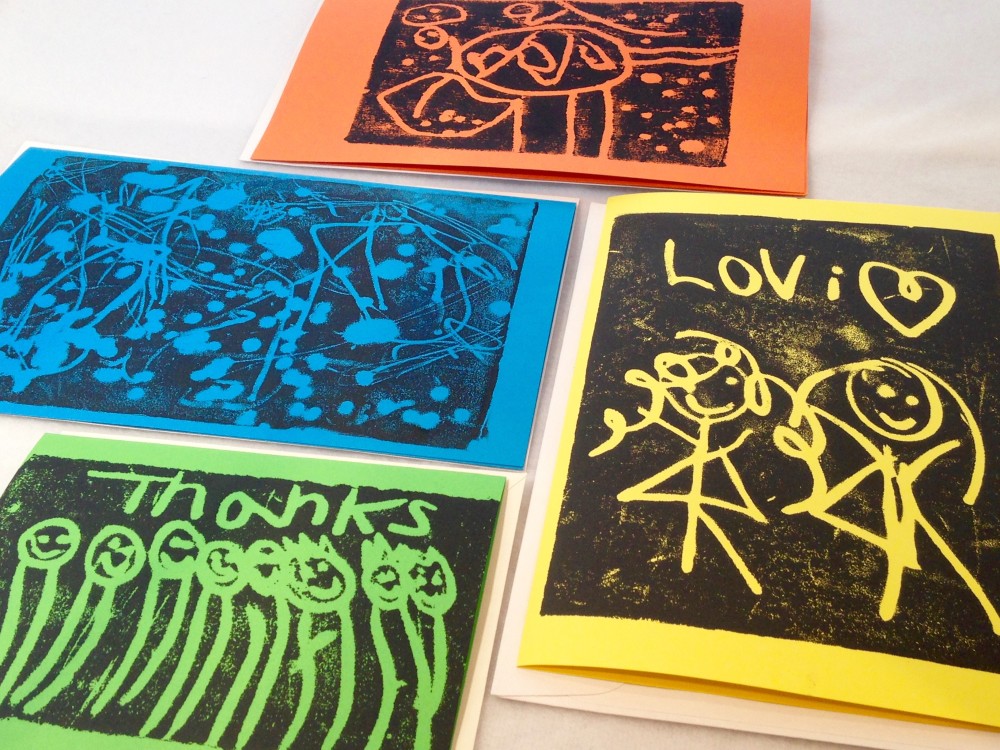
How to Print Thank you Notes Using Foam Trays
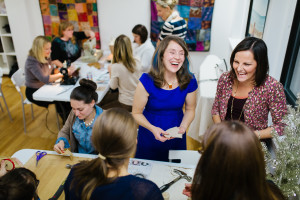
Feeling thankful? Try printmaking thank you cards for your child to send to someone special in their life.
Materials Needed:
- Styrofoam meat trays
- Scissors
- Copy paper & Pencil for drawing ideas
- Dull pencil or chop stick
- Block printing ink ideal or *tempera paint
- Brayer or rolling pin
- Baking tray (metal or glass) or flat plastic lid
- Paper or blank cards
- Large spoon
- Table covering or newspaper
- Damp rag
* If tempera paint is not thick & sticky, add small amount of dish soap & flour.
Process:
ADULTS
- Cut off edges of meat tray to create flat piece of foam
KIDS
- Trace foam plate onto copy paper. Draw simple line picture. Stay inside drawn rectangle.
- Using a dull pencil or chop stick, copy drawing onto foam or place drawing on top of foam & trace lines with firm pressure Remember: All letters & numbers must be traced or drawn onto foam plate backwards
- For young children skip first step & draw directly onto foam
- Double check all lines are deep, not shallow
- Add small amount of ink or paint to tray & roll brayer over ink several times to create an even coating Tip: Keep damp towel near by to clean ink off fingers
- Roll brayer over foam plate several times in multiple directions until covered
- Flip over foam plate onto printing surface (paper or card) & press firmly
- Flip over paper & tray together & rub paper side with back of spoon
- Peel off paper and let dry
No Brayer or ink, no problem! Lightly paint foam tray drawing. Flip foam plate onto piece of paper/blank card. Roll back side of foam plate with rolling pin. Peel off foam plate slowly & carefully. Voila!
Cloud 9 Kid Connection:
Printmaking invites children to experiment with a new tool called a brayer. Children enjoy experimenting with new gadgets & the repetitive process of printmaking. Don’t expect clean & perfect prints with this process. Try printing over other drawings or paintings for varied effects.
-
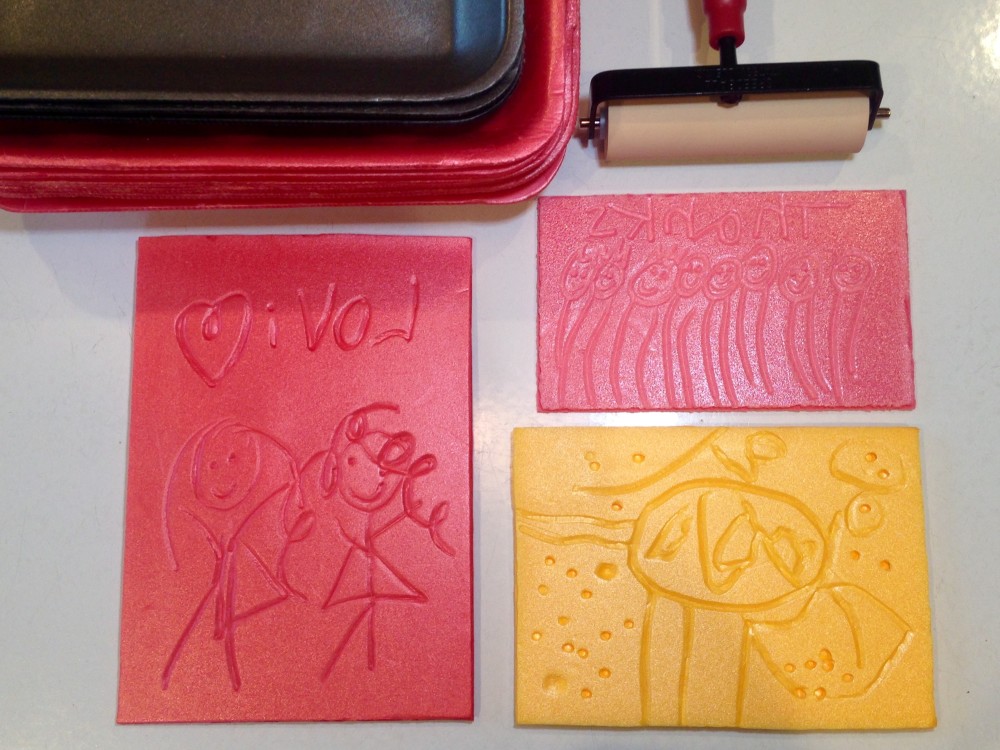
Printmaking Foam Plates
-
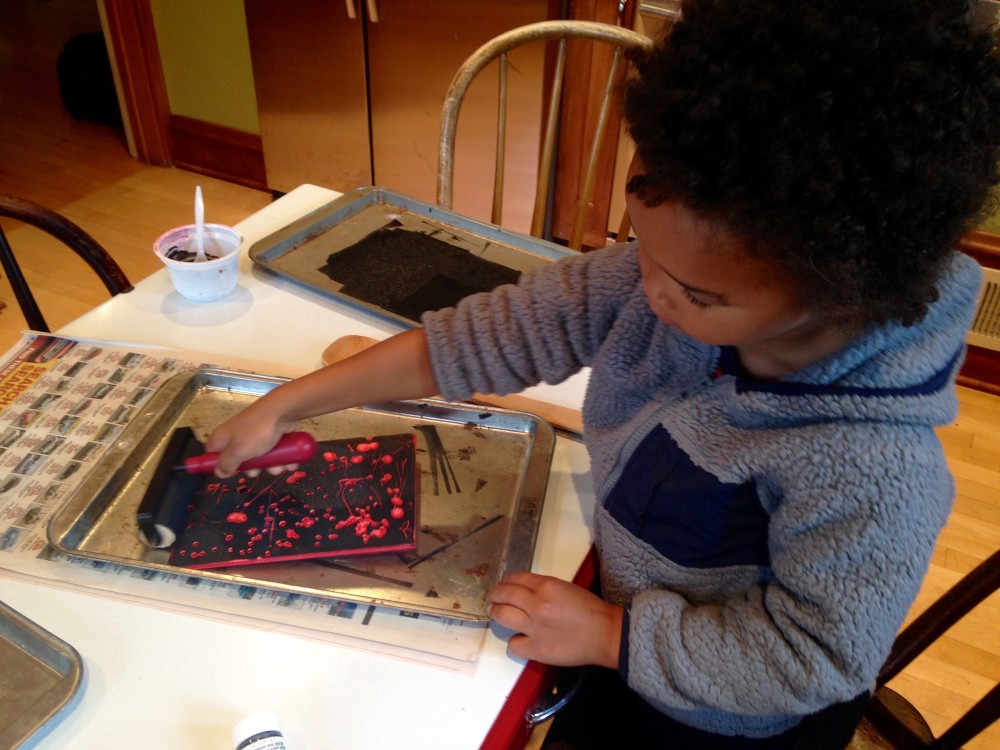
Printmaking with Tots
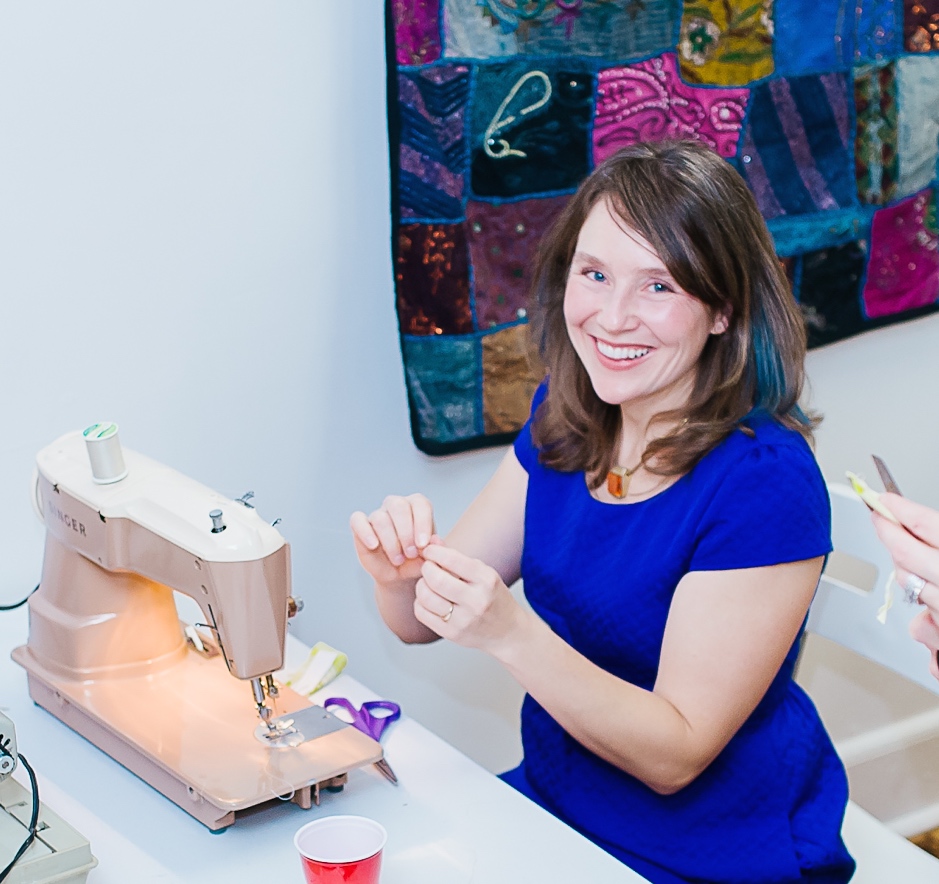 Kelcey created Cloud 9 Workshop in 2012. The business name came to her while rocking her youngest in the wee hours of a warm summer morning. While the name came in a flash, the business has taken 11 yrs to develop. She believes art experiences add richness to life & provide opportunities to explore & express thoughts, ideas, & feelings. Currently, she is working towards a doctorate in art education. Time with her family is what she enjoys most & her favorite collection is sea glass & driftwood.