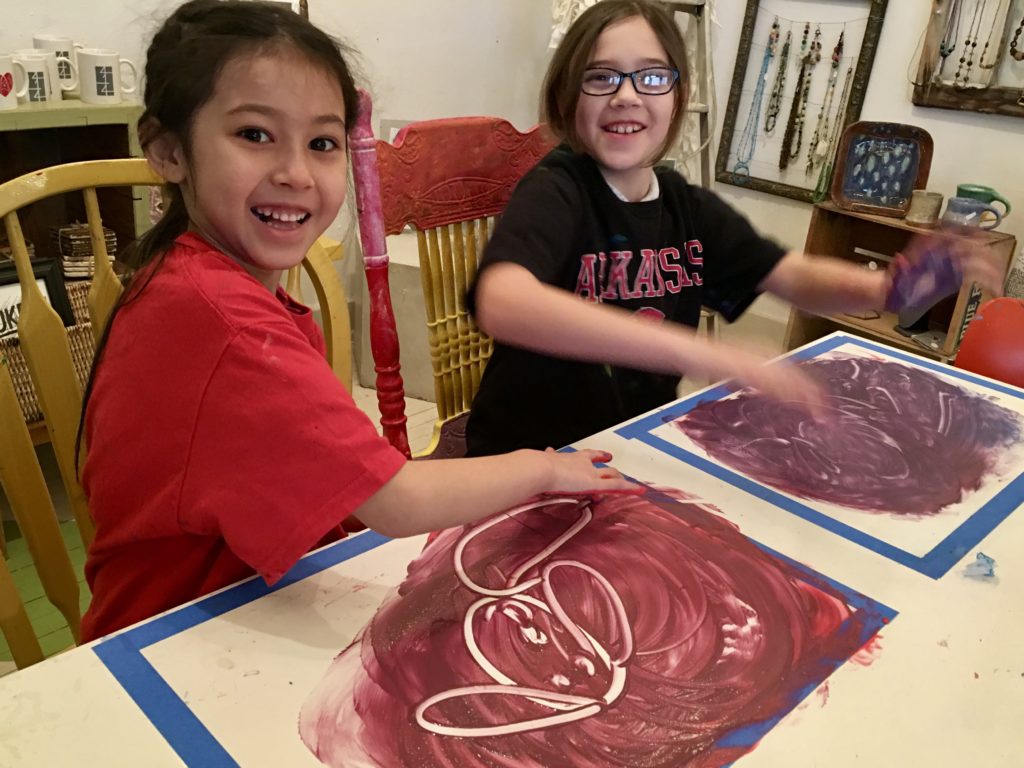
Finger Painting is consistently a favorite process in the art studio! It’s most often considered an activity for tots but I also make the opportunity available to older students in After School Art Club! They love it!! Some students pause, look up and wait for reassurance that painting ON the table is really something they should be doing; while other students dive in and don’t look back 😀
I learned this finger painting technique from a brilliant art teacher in the Milwaukee Public Schools, Lola Kennedy. She used finger painting as a tactile way to teach color mixing and introduce printmaking.
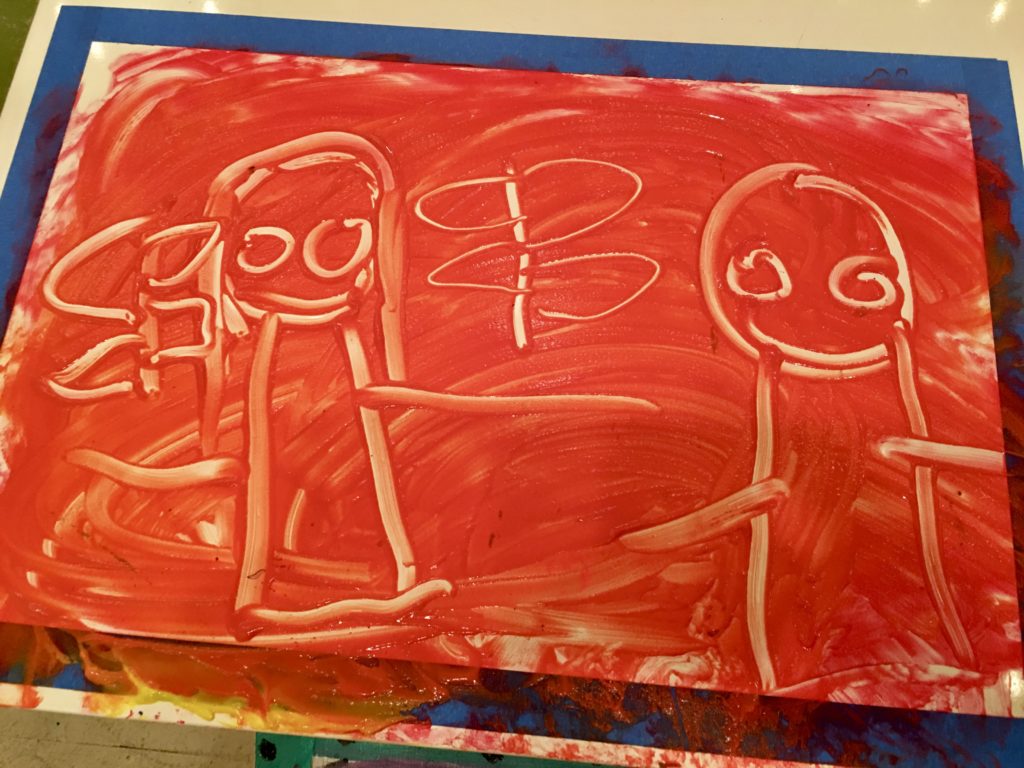
In my most recent ArTogether for Tots lesson our theme was, The Pets I love. We started class by reading Cats Colors by Jane Cabrera. We talked about all the colors in the world and the 3 most important colors with a special name, primary colors. Then, our discussion led into the Finger Painting lesson below.
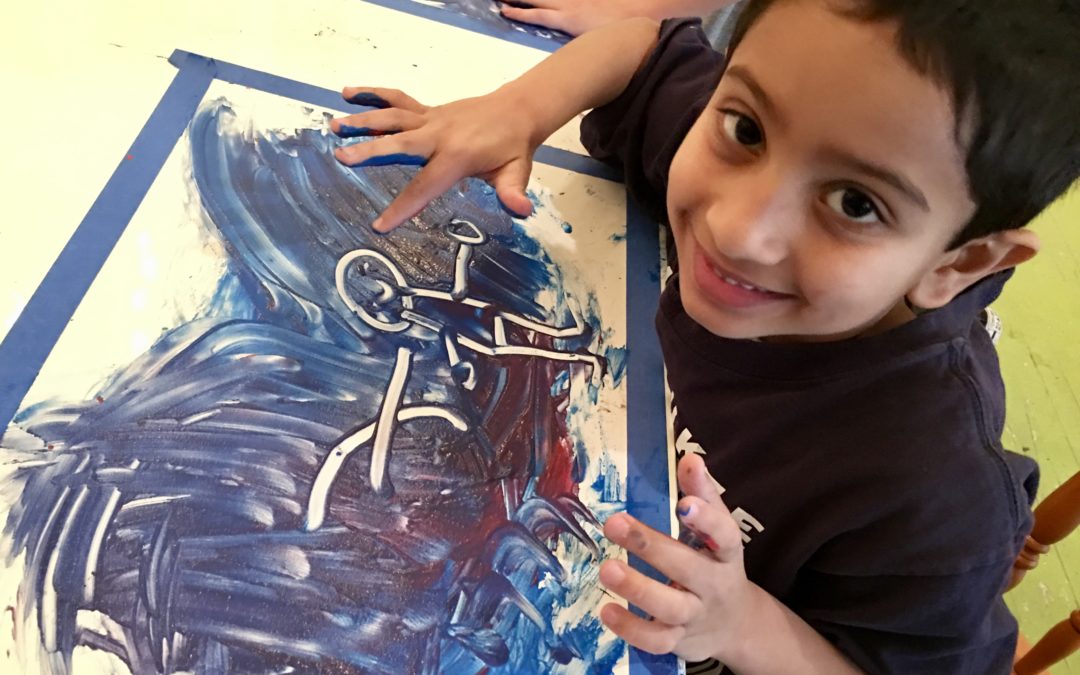
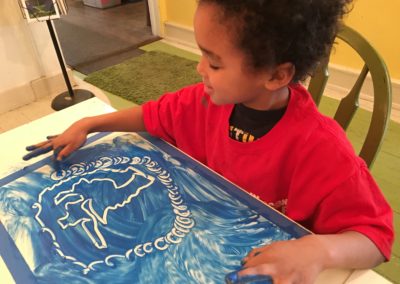
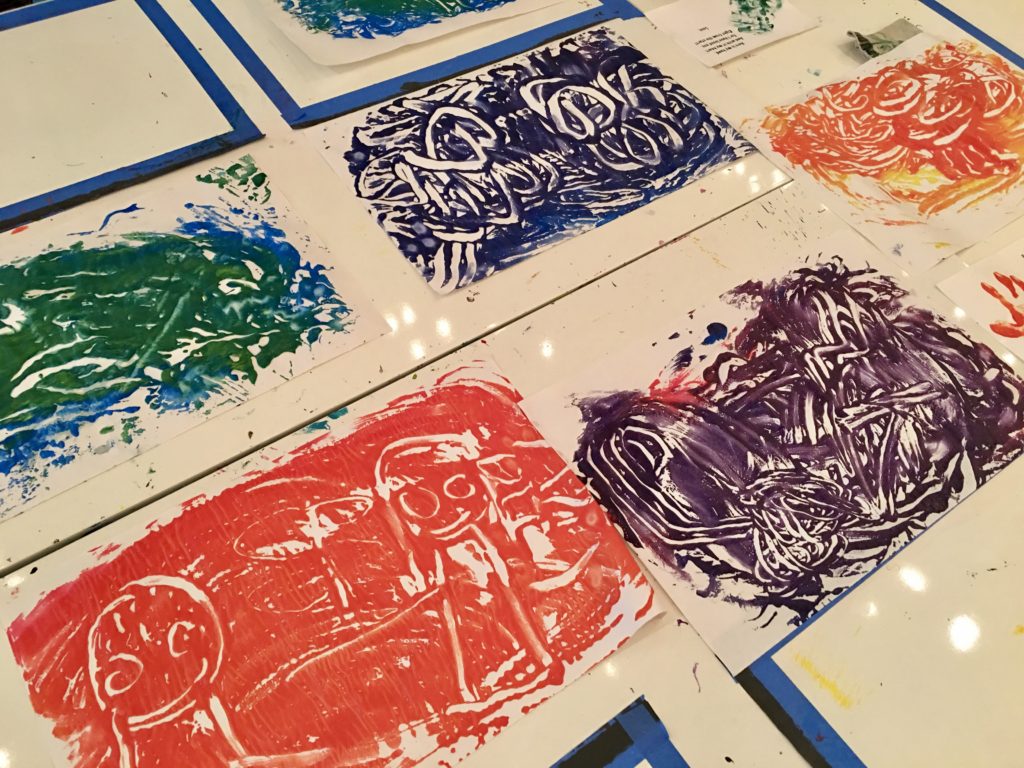
WHY IS THIS FINGER PAINTING LESSON UNIQUE? We paint directly on the table surface and then pull a mono-print of the image.
WATCH our 10 sec. video of Table Top Finger Painting in action!!
Finger Painting Recipe + Teaching Tips
 Materials Needed:
- Pre-mixed finger paints in primary colors
- Colored tape for tables
- Large Paper, 12×18 construction paper used here
- Flat tray for demonstration
- Smocks
- Sponge & water bucket for clean-up
Process:
- Prepare tables – So students have a clear understanding of area, tape areas slightly larger than paper used for print
- Demo how finger paint works on back of flat tray marked with same tape as tables. Demo types of lines and shapes our fingers can make. Draw, erase, draw, erase. Remember don’t go past tape lines. Try using different fingers. Finally, make something to keep.
- Let’s get started! Ask each student what color they want. (If possible have students paint standing up for full movement.) Draw, erase, draw, erase. Give students a second primary color (let them discover what happens)
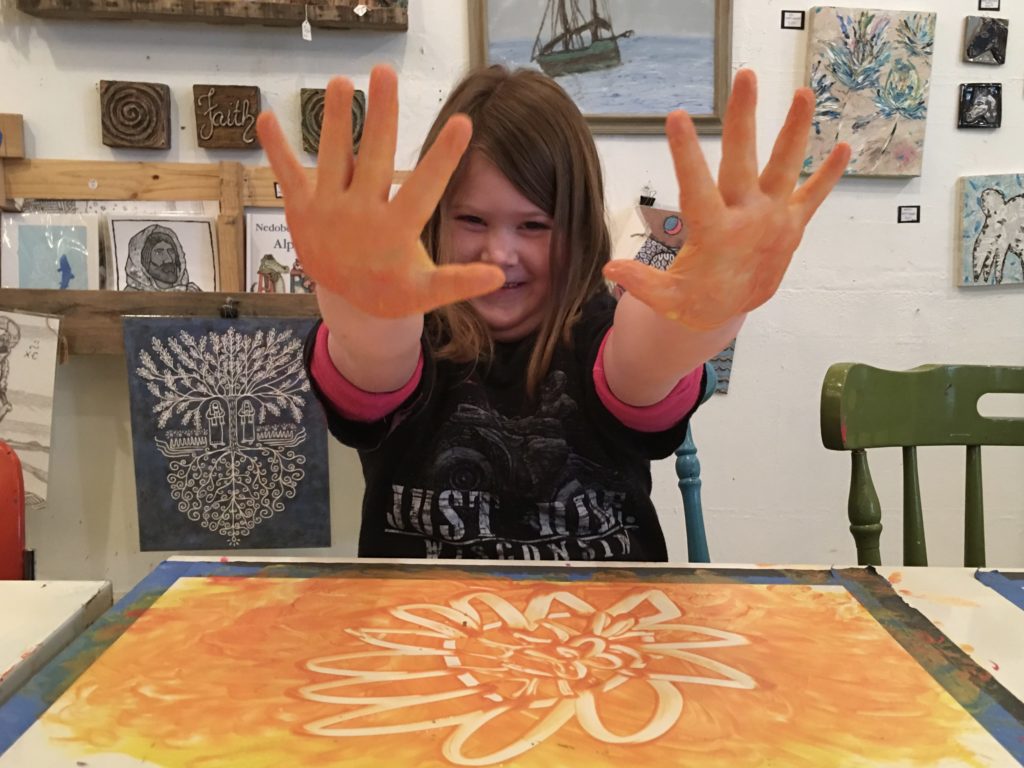
- Once student has image they want to keep, pull mono-print (teacher places white paper over paint, rub, write name on back, lift, dry and press flat before taking home or place between newspaper if taking home wet)
Finger Painting Recipe
- Pick container based on the amount of paint needed. (I use large, clear, plastic deli containers with lids)
- Add:
- 1/8 liquid starch
- 1/8 tempera paint
- 1/4 water
- 1 squeeze dish soap
- 1/2 flour
- Mix together & adjust water & flour until thick & smooth milk shake consistency
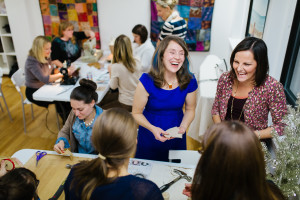
JOIN US at Cloud 9 Workshop’s ArTogether for Tots, After School Art Club and Summer Eco-Art Camp!
-
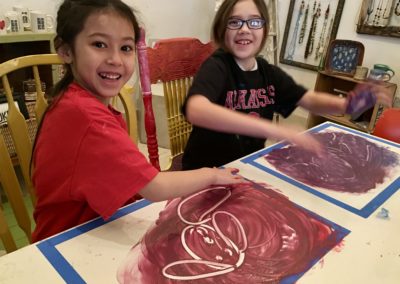
Finger Painting with Friends
-
Practicing Wiggly Lines in Finger Paint
-
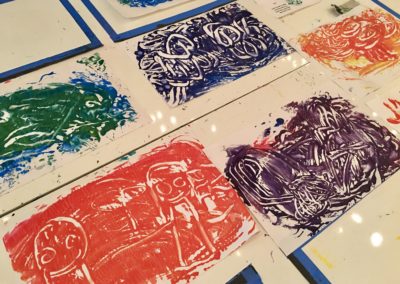
Mono-prints made with Finger Paints
-
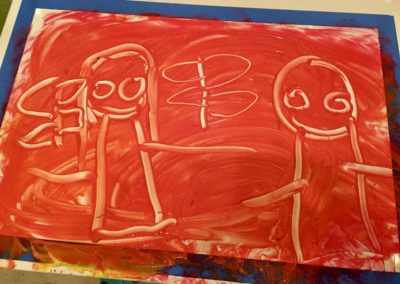
Table Top Finger Painting
-
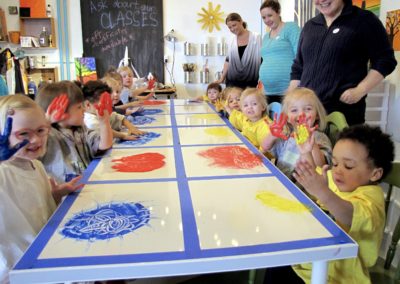
Table Top Finger Painting at Cloud 9 Workshop


Learn more about ArTogether for Tots (ages 2.5-5), After School Art Club & Summer Eco-Art Camp at Cloud 9 Workshop
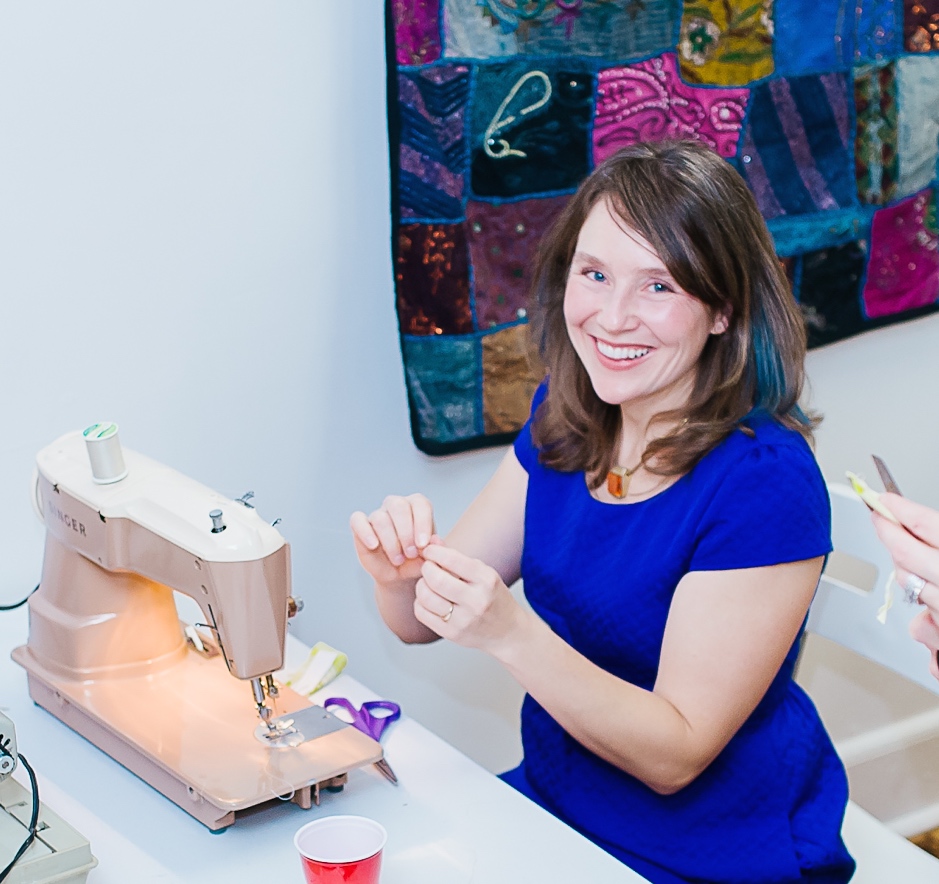 Kelcey created Cloud 9 Workshop in 2012. The business name came to her while rocking her youngest in the wee hours of a warm summer morning. While the name came in a flash, the business has taken 11 yrs to develop. She believes art experiences add richness to life & provide opportunities to explore & express thoughts, ideas, & feelings. Currently, she is working towards a doctorate in art education. Time with her family is what she enjoys most & her favorite collection is sea glass & driftwood.